Many panes in System Preferences require I authenticate myself to change settings. Apple has a consistent UI for this: the lock icon. Next to it is a little snippet of text telling me why it's useful: "Click the lock to make changes." I click it and authenticate, and it opens, enabling various buttons and fields in that pane. "Click the lock to prevent further changes." I click it again, and it locks, disabling those buttons and fields. This UI and underlying authentication process are included in Cocoa: SFAuthorizationView.
This tutorial creates a simple prefpane with a button and the lock UI, building on two earlier posts about root-level operations and debugging prefpanes. Clicking the button creates an empty file at /var/log/test.txt, an action that requires root-level privilege. The button is grayed out if the lock is locked; it enables when I unlock the lock. The source code for this project is available on Google Code.
</a>
Xcode
To start, create a new Xcode project for a PreferencePane, listed in "Standard Apple Plug-ins".
Add the following frameworks to the project: Security and SecurityInterface.
In the header file, import the SecurityInterface framework and add two IBOutlets:

 </a>
</a>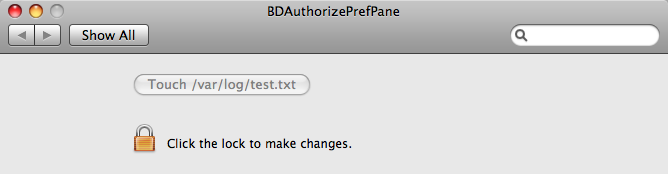
